
Reports help you collect information from an incident in one structured document. You can include log entries, tasks, status, and resources without having to write everything from scratch. Reports are useful for sharing information with people outside RAYVN and for documenting the incident once the report is finalized as a PDF.
If you want to download closed logs, check out this article about the Archive.
Creating a report from a log
When you are in an active log, you can go to the "Reports" section in your header to create a report.
Click "New report" to start a new report.
You can choose to either create a report from scratch by clicking "New report", or create a report from one of your predefined templates.
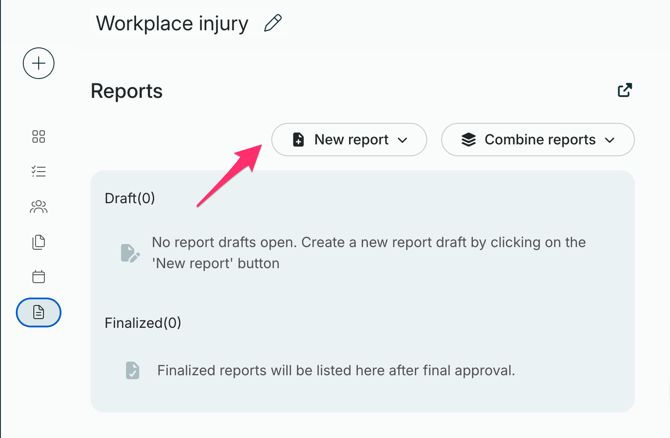
Select the option you want, and start to fill inn the fields you need.
Every section can include text and attachments.
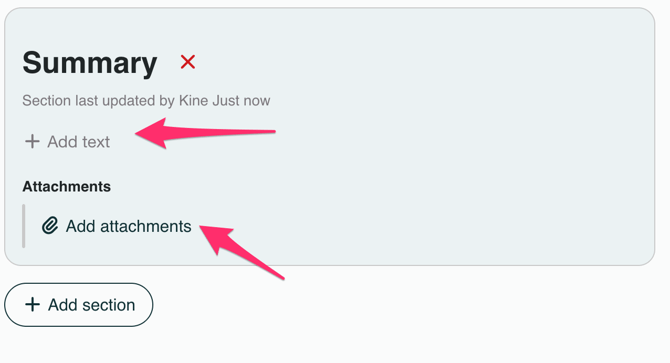
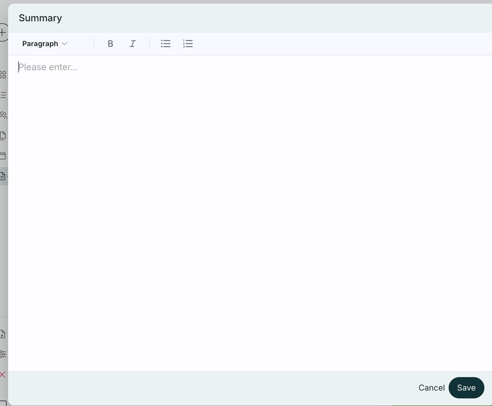
To edit the section, click "Add text". This opens a full screen editing window with formatting options. Here you can use markdown to structure the content, including headings, bold/italic text, and bullet or numbered lists. The formatting displays correctly both in the preview and in the finished report.
By clicking "Add attachment", you get the option to add:
- Log entries
- Tasks
- Current Status
- Resources
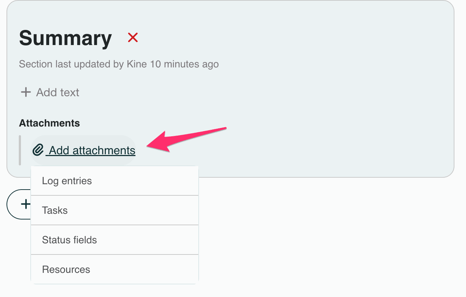
Attaching a log entry
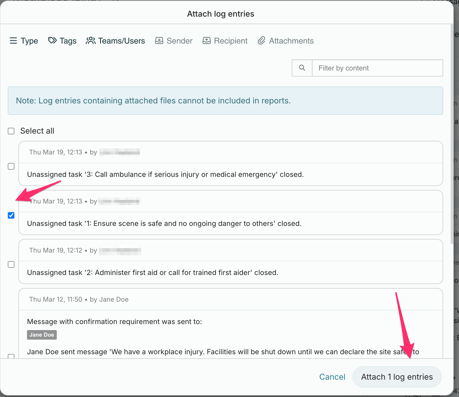
To attach a log entry to a section, click on "Add attachment", and select "Log entries".
Select which log entries you want to add, and click "Attach log entries" to attach them to your report.
Attaching tasks
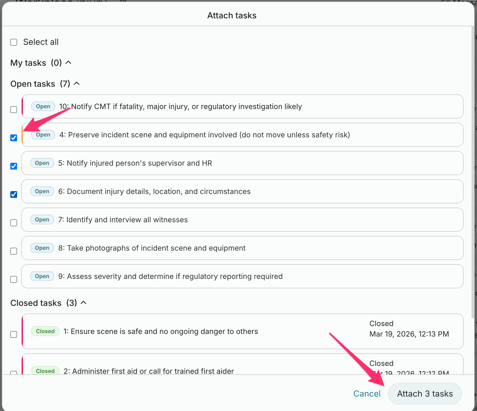
To attach tasks to the section, click "Add attachment" and select "Tasks".
Then, select the tasks you want to attach, and click "Attach tasks".
The tasks are sorted by degree of urgency, and you can see both open and closed tasks in the list:
Attaching status fields
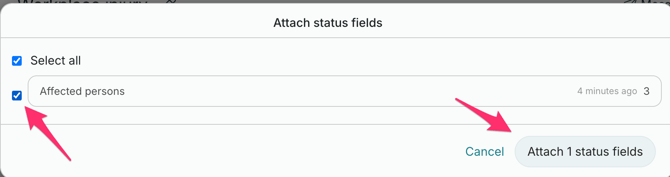
To attach a status field from "Current status", click "Add attachment" and select "Current status".
Then, select the status fields you want to include, and click "Attach status fields".
You'll be able to see the time at which the status was last updated or added.
Attaching resources
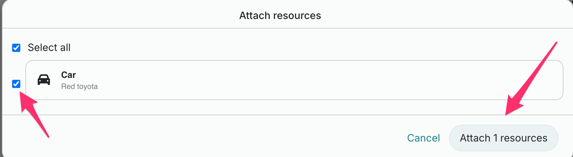
To attach resources to your section, click "Add attachment" and select "Resources".
You'll only be able to add resources that have been added to your log.
Select the resources you want to include, and click "Attach resources".
After you've added everything you want, your report should look something like this:
Anything you've attached to the report can be removed by clicking on the small red "x" next to the attachment.
Finalizing your report
Once you've added all the information, text, and attachments you want to your report, you can finalize your report.
Note that every time you leave the report, it will be updated and saved. You can toggle from the active log, to the report section without losing information.
To finalize your report, click on the padlock icon at the top of your report view.
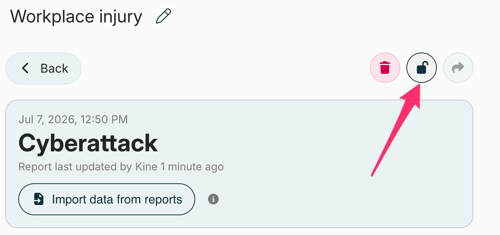
Note that when you finalize your report, it freezes all content in the report and prevents you from making any further changes. You cannot undo this action once you've finalized your report.
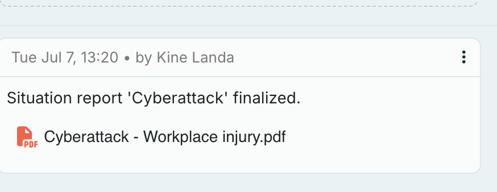
Once your report is finalized, it is ready to be shared. In the log feed, you'll find a link to your finalized report in a PDF format.
Sharing your report
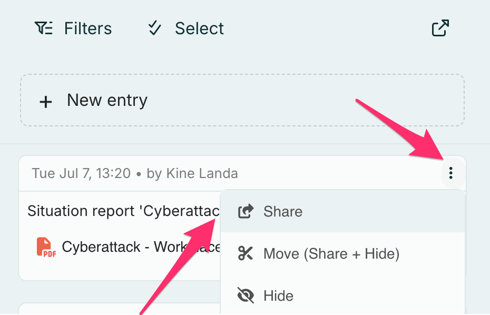
You can share the report, either from the log feed, or from the reports section.
Click "Share", and select the Rooms/Stakeholders you want to share your report with.
You can also download the PDF version of the report and share it with whoever you want.